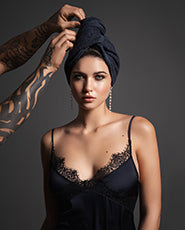
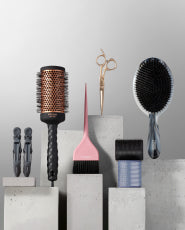
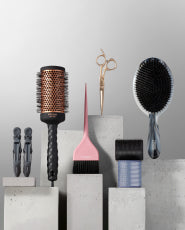
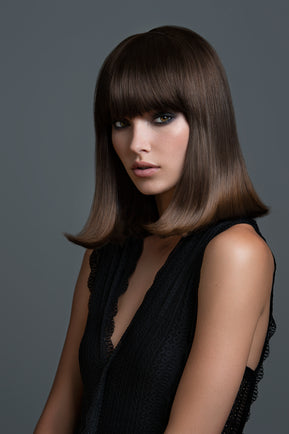
Big luxurious hair is a coveted look that will always be in style. Dressed up or dressed down, having big bouncy curls that last through the day is a sure-fire way to keep a girl happy and feeling confident. With so many different choices for tools and products, it’s hard for anyone to know what to use to create this look. I’ve broken down my process and added my favorite tools. Get ready for that big hair you’ve always dreamed of!
Step 1
Start with dry, smooth hair.
- I like to start this look with freshly washed hair. Always make sure to add a heat protectant before using any heat tool. If you're in between washes, refresh your hair with your favorite dry shampoo. Make sure to detangle and start with your hair smooth and dry.
Step 2
Section off hair into three parts using Fromm Pro clips.
- Section 1 is at the bottom. Place your index fingers at the top of the ear and glide to the back until they meet in the middle. Clip the hair on top out of your way so you can make a clean starting area.
- Section 2 is in the middle. Place your index fingers at your temples and glide to the back until your fingers meet again. Clip the top section away and complete your second section.
- Section 3. The hair that is left over is your third and final section. Cleanly clip it up and out of your way.


- Depending on the density of your hair, you may need fewer or more sections. For thin hair, two parts, medium three, and thick four. Organized sections will help you move quickly and ensure you don’t miss an area. Fromm gator clips have a soft touch with a secure grip. Perfect for holding all types of hair, even the thickest!
Step 3
Let’s get curling! Different size curling irons create different looks. For best results on mid-length and long hair, I use a 1 1/4 inch iron. Shorter lengths I choose a 1-inch barrel.
- Start at the bottom section. You can start on the left or right side. Take a part of hair about the same size as the width of your iron. Place your iron in the middle of that section with the clamp facing forward. Curl back away from your face bringing your iron to your root area. For a more modern look, leave out the last 1-2 inches of hair. Once you have curled this section, let it cool! For a longer-lasting look, set your curls by pinning them up with the Fromm metal sectioning clips. I suggest placing a meche paper between your hair and the clip. Doing so will prevent possible creasing from the clips while setting the curls.

- Bring down your middle section and repeat the same steps.

- The last section is the top. Make sure to part your hair where you like before you begin. Continue curling and let your entire look cool before touching.


Step 4
This last step has three easy parts to remember. Tame, texture, and tease. After your curls have cooled, it’s time to brush out your curl lightly, add some texture powder, and softly backcomb your curls.
- I'm obsessed with two different brushes to help softly brush out the curls—Elite Polisher Brush or the Intuition Flexer Brush by Fromm.

- I prefer using texture powder in place of hair spray. Yep, you read that correctly, no hairspray! I find this helps hold my style while also giving me more longevity.

- Lightly backcombing will add volume to your curls while leaving it bouncy and beautiful. Place your brush on the areas that need added volume and gently backcomb.


